
Last updated November 20, 2026
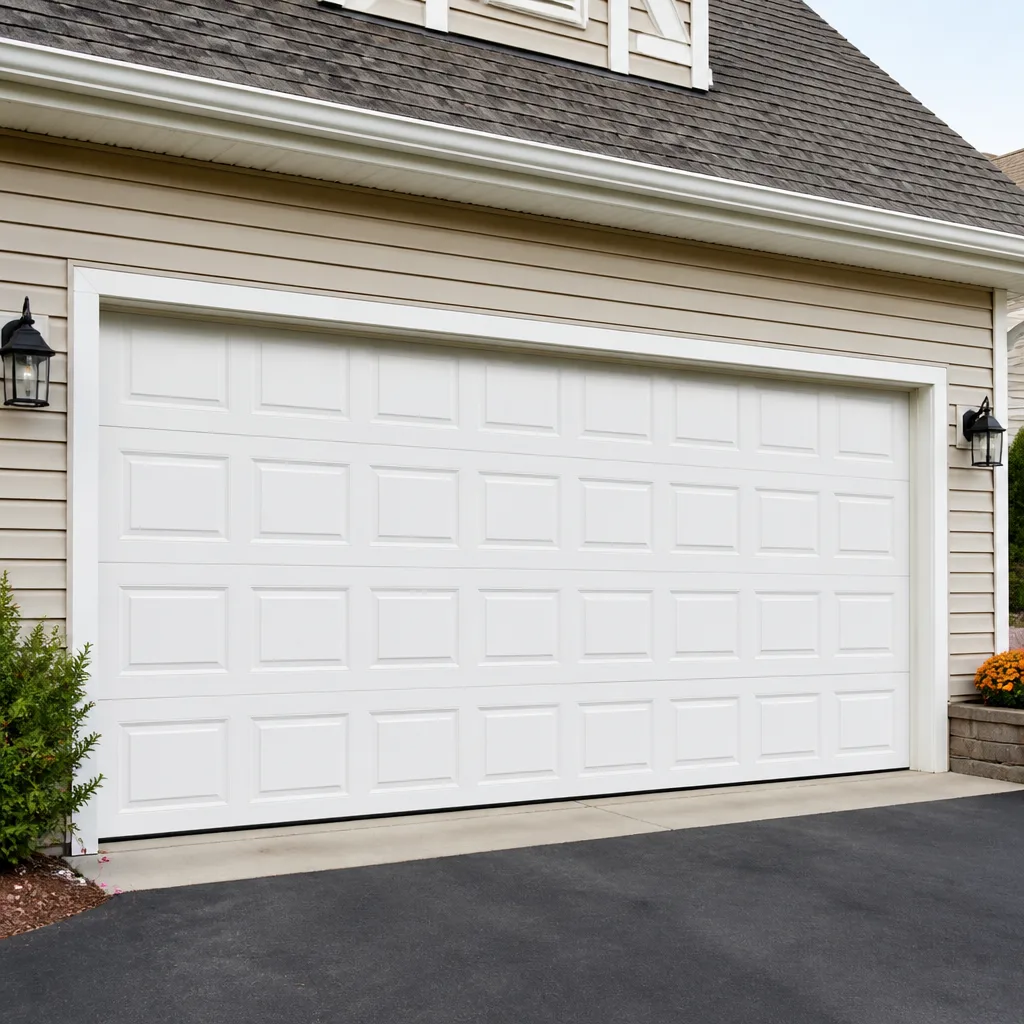 Raised-panel steel
 Carriage house
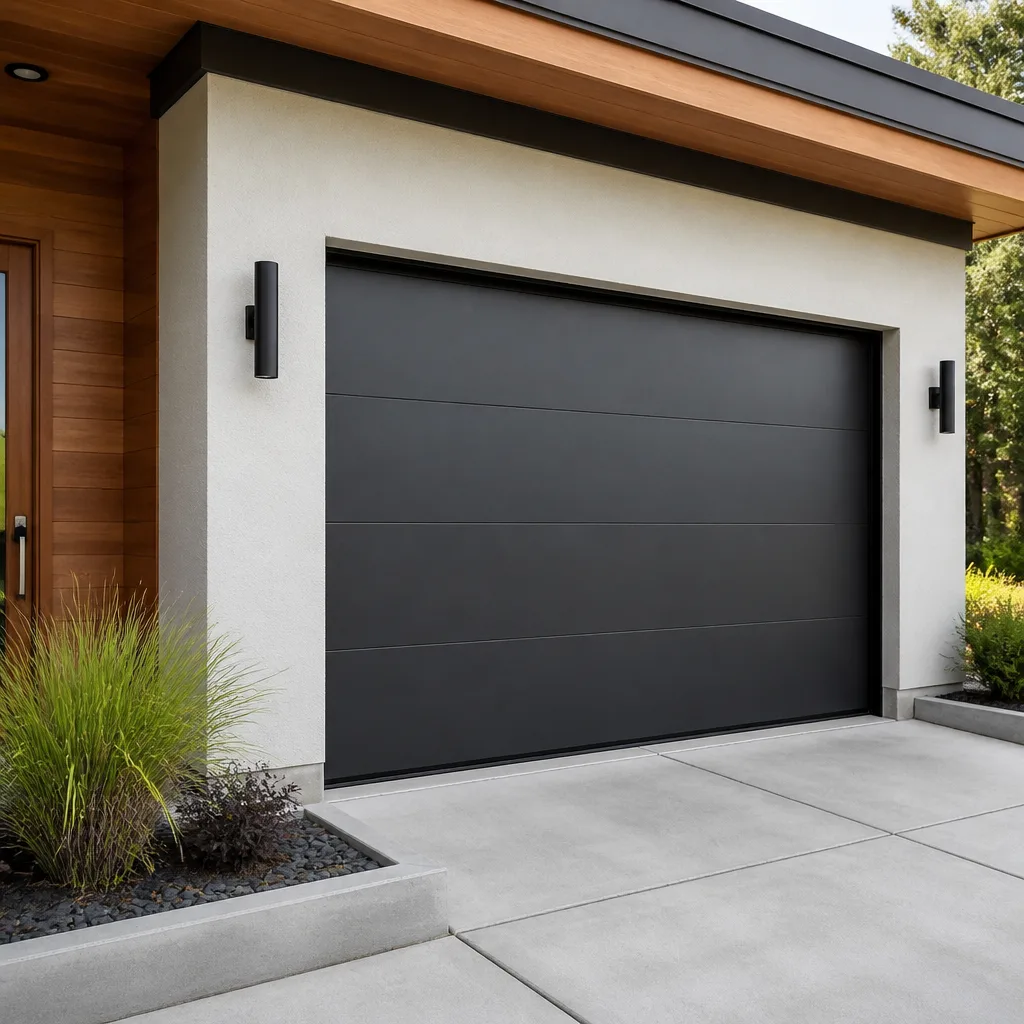 Modern flush
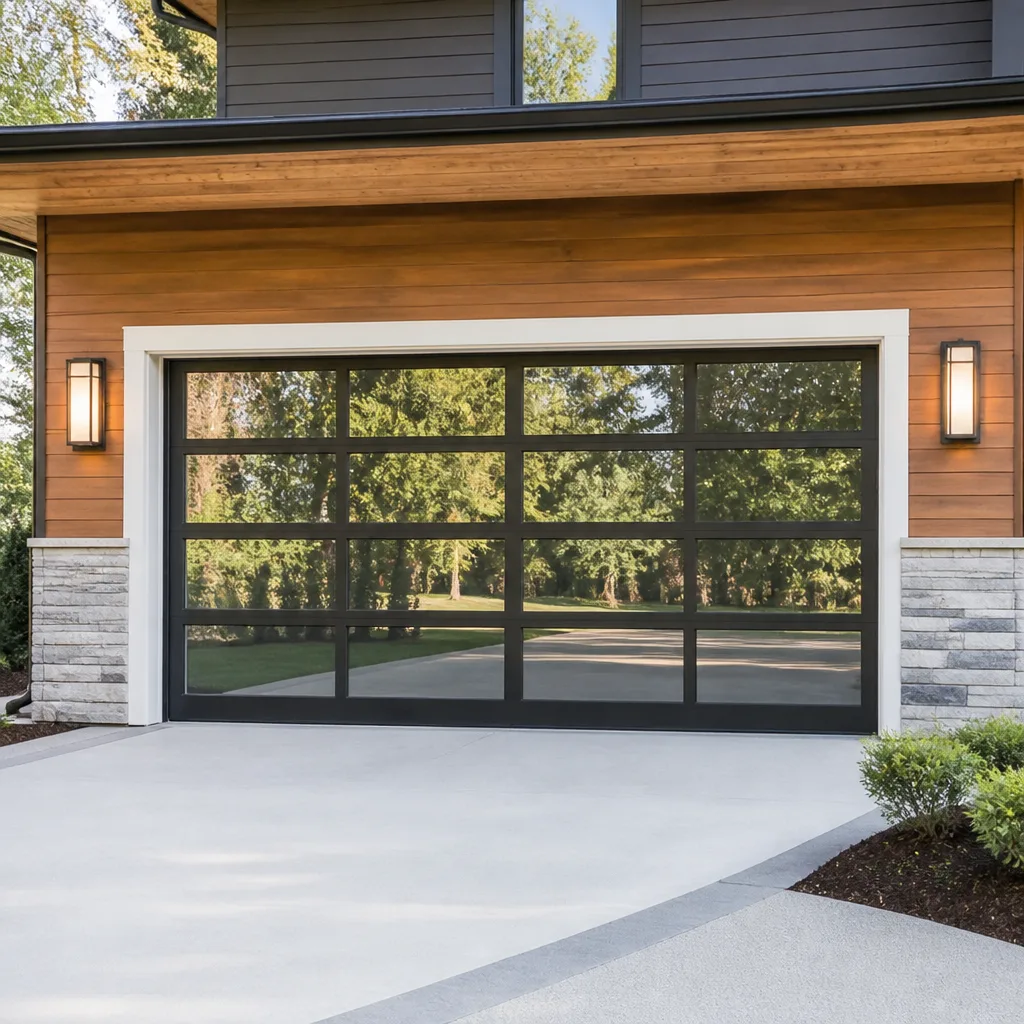 Full-view glass
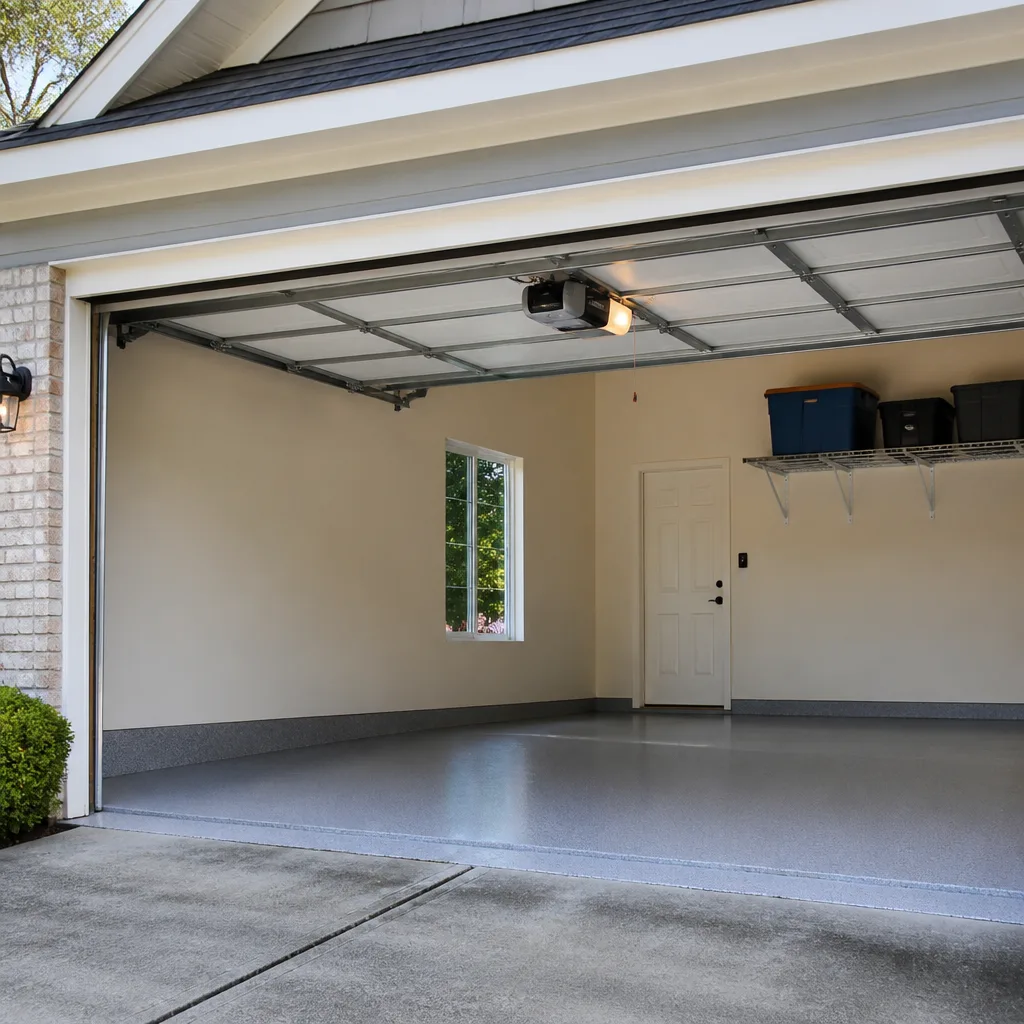 LiftMaster openers
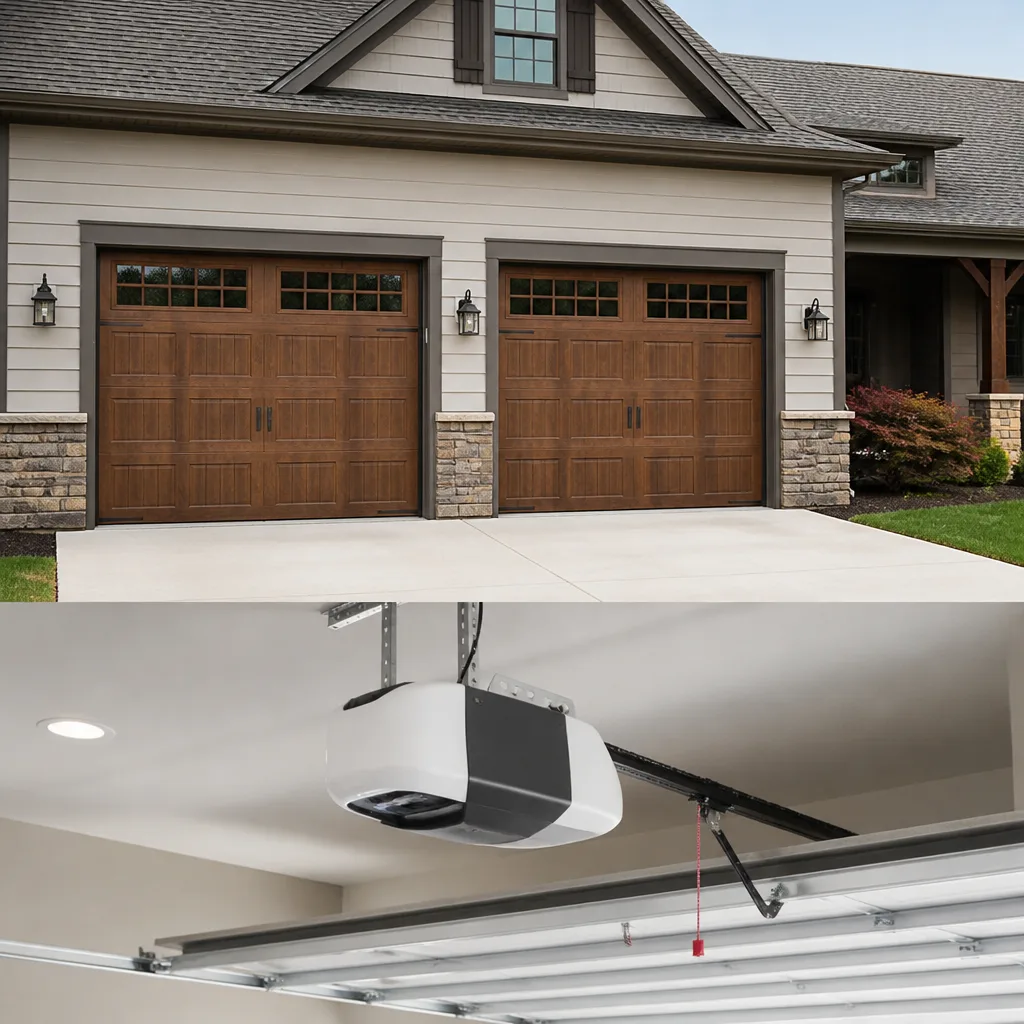 Chamberlain openers
Full 25-point door and opener safety check with every visit - springs, cables, rollers, tracks, and your LiftMaster or Chamberlain opener included
You get a price before we start. It does not change when the pro arrives.
Get your free estimateGarage Door Repair Maintenance Checklist for Grove City Homeowners
Most garage door checklists floating around online stop at “lubricate your hinges” and never tell you what to lubricate them with. That gap matters more than the step itself. Spray the wrong product on a torsion spring and you can accelerate the metal fatigue that shortens its life, which is exactly the kind of mistake we run into on Grove City service calls where Ohio’s humidity swings do the metal no favors. This guide is built differently. Instead of a generic to-do list, it walks through the 12 failure points that actually cause emergency breakdowns, ranked by how often they show up, and tells you what each failure looks like right before it happens. You’ll learn what you can safely check yourself, what needs a trained eye, and where the line between the two really sits.
Quick Answer
A useful garage door maintenance checklist covers twelve checkpoints: springs, cables, rollers, hinges, tracks, the opener’s force and travel settings, the safety reverse test, the photo-eye sensors, the weather seal, the balance of the door, the hardware fasteners, and the door panels themselves. You can safely inspect and lubricate most of these yourself every few months. Springs and cables are the exception: inspect them with your eyes only from a safe distance and leave any adjustment or replacement to a trained technician, because those components are under extreme tension and can cause serious injury.
Styles & brands we work with
- Raised-panel steel
- Carriage house
- Modern flush
- Full-view glass
- LiftMaster openers
- Chamberlain openers
Table of Contents
- Why a Real Checklist Beats Guesswork in Grove City
- The Right Lubricant (and the Ones That Damage Your Door)
- Springs: What Wear Looks Like Before Failure
- The Two-Minute Balance Test and What Your Drift Tells You
- Rollers and Hinges: Catching End-of-Life Before the Track Pays for It
- Opener Checks: Force, Travel, and the Safety Reverse Test
- The Weather Seal After an Ohio Winter vs. a Humid Summer
- What You Can Maintain Yourself vs. What Needs a Technician
- Common Mistakes to Avoid
- When to Call a Professional
Why a Real Checklist Beats Guesswork in Grove City
A garage door is the largest moving object in most homes, and in Grove City it usually does double duty as the main way in and out of the house. That daily cycle is what wears components down. A door that opens and closes four or six times a day racks up thousands of cycles a year, and every one of those cycles puts a little more stress on the springs, stretches the cables, and rolls the rollers another few inches along the track. Maintenance is really about catching wear at the checkpoint before it becomes a breakdown.
The reason we rank the failure points the way we do is simple: some failures strand your car, and some just make noise. A snapped torsion spring leaves the door too heavy to lift by hand and traps whatever is parked inside. A worn roller or a loose hinge usually announces itself with a rattle or a shudder long before it fails. If you only have twenty minutes to spend on your door this month, spend it on the items near the top of the list.
Grove City’s climate adds its own wrinkles. Winters bring repeated freeze-thaw cycles that work on the weather seal and the bottom of the door. Summers bring stretches of high humidity that swell wood-composite panels and make metal hardware work a little harder. A door that was fine in April can start binding by August, and the cause is often nothing more exotic than seasonal expansion. Checking your door once in spring and once in late fall lines up with those two extremes.
One more thing worth saying up front: this checklist is a maintenance routine, not a repair manual. Inspecting a spring is safe. Touching one is not. We’ll be clear about which is which throughout, and you can always reach out through our Garage Door Repair Grove City page if something you find needs a second opinion.
The Right Lubricant (and the Ones That Damage Your Door)
Use a silicone-based or white lithium grease on your springs, hinges, and rollers. Avoid WD-40 and any light penetrating oil on moving garage door parts, because those products are solvents and water displacers, not lubricants, and they strip the factory grease that protects the metal. A torsion spring coated in a thin solvent film is more exposed to moisture and more prone to the fatigue that eventually cracks it.
The confusion is understandable. WD-40 is in nearly every garage in Grove City, and it does free up a squeaky hinge on a garden gate. But a garage door is a different animal. Its parts run under load, thousands of times a year, and they need a lubricant that stays put and keeps a film between metal surfaces. A penetrating spray evaporates, leaves the surface nearly dry, and can actually attract grit that grinds away at the steel.
Here’s the simple breakdown of what goes where:
- Springs (torsion and extension): a light coat of silicone spray or white lithium grease, applied sparingly. Wipe off excess. Never soak a spring.
- Hinges: a drop of white lithium grease or silicone lubricant at each pivot point. Wipe away drips so they don’t collect dust.
- Rollers: if they’re metal, a small amount of silicone or lithium grease on the stem, not the wheel. If they’re nylon, they generally need nothing and should be replaced when they wear.
- Tracks: no grease. Tracks should stay clean and dry. Wipe them with a damp cloth and check for dents or debris.
- Opener rail and chain: follow the manufacturer’s guidance for your specific unit. Chain-drive openers often call for a light grease, while belt-drive systems usually need none.
If you own a LiftMaster, Chamberlain, or Genie opener, the manual that came with it lists the recommended lubricant for the rail and chain. For an older Craftsman unit where the manual is long gone, a silicone spray on the rail is a safe default. When in doubt, less is more, and never apply anything to a spring that you wouldn’t put on a bicycle chain. If a squeal doesn’t go away after proper lubrication, that’s a sign of a worn component rather than a dry one, and it’s worth having a technician take a look.
Springs: What Wear Looks Like Before Failure
A worn spring usually shows a visible gap, a slight bend, or a thin line of rust along its coil before it breaks. A spring that’s roughly 60% through its service life often looks perfectly normal from across the garage but shows these early signs up close. A spring that’s about to snap typically has a visible section where the coil has lost tension or where the paint has cracked in a spiral pattern.
This is the most important checkpoint on the whole list, and it’s also the one you should handle with the most caution. Torsion springs, the kind mounted on a shaft above the door, are under enormous tension even when the door is closed. Extension springs, the kind that run along the horizontal tracks, are equally dangerous. Never attempt to adjust, loosen, or remove a spring yourself. The stored energy in a wound torsion spring can release in an instant and cause severe injury. Our garage door spring repair service exists because this is genuinely hazardous work that calls for the right tools and training.
What you can safely do is look, from the floor, with the door closed:
- Check for gaps. On a torsion spring, look along the length of the coil for a visible separation between coils. A gap means the spring has lost tension or already broken.
- Look for rust lines. A streak of rust along one part of the coil can indicate a stress point where the metal is starting to fail.
- Check the color and paint. Torsion springs are typically painted to indicate their size and winding. Flaking paint in a spiral pattern can signal fatigue.
- Listen when the door moves. A sharp bang, a twang, or a sudden loss of lifting power points to a spring problem.
- Test the door by hand once. With the opener disconnected (pull the release handle), lift the door about a foot. If it feels extremely heavy or won’t stay put, stop and call a technician.
If you see any of these signs, treat the door as out of service until a technician inspects it. It’s not worth the risk of a failure while someone is standing underneath.
The Two-Minute Balance Test and What Your Drift Tells You
To balance-test your door, disconnect the opener by pulling the release handle, lift the door halfway by hand, and let go. A well-balanced door stays where you put it. If it drifts down more than a few inches, the springs are losing tension. If it drifts up, the springs are wound too tight.
The size of the drift matters. Here’s how to read it:
- No drift: the door holds its position. Springs and cables are doing their job.
- Drift of about 3 inches: a small imbalance. Worth noting and rechecking in a month. It may be normal wear, or it may be the start of a spring losing tension.
- Drift of about 6 inches or more: a clear imbalance. The door is working against the opener, which puts extra strain on the motor and the hardware. Have it checked before the opener starts to fail too.
- Falls quickly or crashes down: stop using the door. A door that drops on its own is a safety hazard, and a spring or cable is likely compromised.
Run this test with the door closed and the opener disengaged, and keep your hands clear of the hinges and the bottom bracket. If the door won’t hold at all, don’t force it. The balance test is one of the most useful two minutes you can spend on your door, and it’s also one of the safest, because you’re only lifting the door by hand, never touching a spring. In our experience around Grove City, a door that starts drifting in late fall often signals springs that have been slowly losing tension all summer. Rechecking after the first cold snap catches that early.
Rollers and Hinges: Catching End-of-Life Before the Track Pays for It
Rollers nearing the end of their life often show a flat spot, a wobble, or visible wear on the wheel itself before they seize. Nylon rollers develop a rough edge or flatten on one side; steel rollers show scoring or a wobbly stem. A seized roller doesn’t just stop rolling, it drags along the track and grinds the metal, which is how a cheap roller becomes an expensive track repair.
Watch for these signs on a monthly walkaround:
- Shuddering or jerking as the door moves up or down, especially near the top or bottom.
- A grinding or scraping sound from the tracks, which usually means a roller has stopped turning.
- Visible flat spots or cracks on the roller wheels themselves, best seen with the door partway up.
- Loose or wobbly rollers in their brackets, which let the door rattle in the track.
- Hinges that squeak after lubrication, which can signal a worn pin or a bent plate.
Hinges are the quieter half of this checkpoint. A hinge that squeaks after a proper silicone spray has usually worn out at the pin. Hinges are easy to replace yourself, and they’re cheap, which makes them a good item to check every few months. If your door is a Clopay or Amarr model with the original hardware, matching replacements are widely available. For a Wayne Dalton door, check the specific hinge style, because those doors sometimes use proprietary hardware.
The bottom line on rollers and hinges is this: they’re the parts most likely to warn you before they fail. A grinding roller gives you plenty of notice. A failing spring often gives you almost none. That’s why catching the rollers matters, and it’s also why a technician who works on your brand can diagnose the noise quickly. We work on all eight of the major residential brands, and the parts for a shudder almost always come down to the rollers, the hinges, or a bent track section.
Opener Checks: Force, Travel, and the Safety Reverse Test
The two most important opener checks are the force setting and the safety reverse. Test the reverse by placing a roll of paper towels flat under the door and closing it. The door should reverse on contact. If it doesn’t, stop using the opener and have it serviced, because the reverse is the safety feature that keeps the door from crushing something in its path.
Here’s a step-by-step routine for the opener itself:
- Run the safety reverse test. Place a small object like a roll of paper towels in the door’s path. Press close. A properly set opener reverses on contact with the object.
- Test the photo-eye sensors. With the door open and the opener engaged, wave an object between the two sensors near the bottom of the tracks. The door should refuse to close or reverse immediately. If the sensors’ indicator lights are off or flickering, clean the lenses and check the alignment.
- Check the force setting. Most openers let you adjust the force with a screw or a digital menu. If the door struggles to close or reverses for no reason, the force may be set too low. If it closes on an object without reversing, the force is set too high. Either way, adjust per the manual.
- Check the travel limits. The door should close fully and sit flush with the floor, and it should open fully without straining. Adjust the open and close limits if the door stops short or strikes the floor too hard.
- Check the rail and chain or belt. Look for sagging, wear, or debris on the rail. For a chain drive, check the tension per the manual. For a belt drive, look for fraying.
On a Wi-Fi-enabled LiftMaster or Chamberlain opener, the app will usually show a fault code if a sensor is misaligned or if the opener is straining. That’s a helpful shortcut. On a legacy Craftsman or older Genie unit, you’re reading the indicator lights on the motor head and the sensors on the rails. If you don’t have the manual, the brand and model number on the opener’s label will usually track one down. For a deeper walkthrough of opener-specific troubleshooting, our garage door opener repair page is the place to start.
One safety note here: the safety reverse and the photo-eye sensors are the most important safety features on the whole system. If either fails, treat the opener as out of service until it’s fixed. They exist for a reason, and a door that closes without reversing is a door that can hurt someone.
The Weather Seal After an Ohio Winter vs. a Humid Summer
After a Grove City winter, check the bottom seal for cracking, flattening, and gaps at the floor line, especially where the concrete has heaved. After a humid summer, check the seal and the door’s bottom edge for swelling, softness, or visible mold on the rubber. The two seasons do different damage, and the checks are different too.
Winter is the harder season for the bottom seal. Repeated freeze-thaw cycles push the concrete slab up and down slightly, and the seal takes the brunt of it. A seal that looks fine in October can develop a visible gap by February, because the rubber gets stiff in the cold and can’t conform to the floor the way it does in warmer weather. A gap at the bottom lets in cold air, water, and small pests. Hold a flashlight down low and look for daylight under the door from inside. Any light you can see is a gap.
Summer does its damage differently. Heat and humidity can soften some seals and cause them to stick to the floor or tear. Wood-composite panels can swell slightly at the bottom edge, which pushes the seal down. If your door’s bottom edge looks warped, the seal is probably under pressure, and the fix is usually to replace the seal rather than the door. Look for mold or dark streaks on the rubber, which point to moisture trapped under the door.
The side seals, the vertical strips along the frame, get less attention but matter just as much. Check them for tearing, gaps, and stiffness. A stiff side seal doesn’t hug the door edge and lets in wind and rain. Replacing side seals is one of the simplest maintenance tasks a homeowner can do, and it makes a real difference in an Ohio garage where the door faces the prevailing weather.
A word on the door panels themselves: they’re the last checkpoint on the list and the most visible. Check for dents, cracks, and separation between panel sections. Panel damage is one of the three failure points we see most often, along with opener and spring problems, and a bent or separated panel can bind in the track and stop the door entirely. If you have a Clopay, Amarr, or Wayne Dalton door with a damaged panel, the brand matters for getting a correct match. That’s exactly why we work on all of them.
What You Can Maintain Yourself vs. What Needs a Technician
You can safely lubricate hinges, rollers, and the opener rail, wipe down the tracks, replace the bottom and side weather seals, clean the photo-eye lenses, run the balance test, and perform the safety reverse test. You should not adjust or replace springs, cables, or the bottom bracket, because those parts are under extreme tension and can cause serious injury.
The distinction comes down to stored energy. Springs and cables hold force even when the door is at rest, and releasing that force without the right tools and technique is dangerous. Everything else on the list is either under little load or can be handled with basic tools. Here’s the clean split:
- DIY-friendly: lubricating hinges, rollers, and the opener rail; wiping tracks; replacing weather seals; cleaning sensors; testing the reverse and balance; visually inspecting springs from a distance; replacing hinges; tightening loose fasteners you can reach from the floor.
- Technician work: spring replacement or adjustment; cable inspection, replacement, or adjustment; bottom bracket work; track straightening or realignment; opener force and travel adjustment if you’re not confident; any repair where the door feels heavy or won’t balance; panel replacement.
This isn’t about selling you work you don’t need. It’s about the reality of the components. A worn hinge is a ten-minute swap. A torsion spring under several hundred pounds of tension is a different situation entirely, and a mistake there can put you in the hospital. If you’re unsure which side a task falls on, the safe answer is to treat it as technician work. Most repairs we deal with on a routine garage door repair call are the ones a homeowner couldn’t safely tackle, and that’s fine. Knowing the line is part of good maintenance.
Common Mistakes to Avoid
- Using WD-40 or a penetrating oil on springs and rollers. It seems harmless, but it strips the factory grease and leaves the metal drier than before. Use silicone or white lithium grease instead.
- Trying to adjust or replace a spring yourself. This is the single most dangerous mistake on the list. Torsion and extension springs are under extreme tension, and a slip can cause serious injury. Leave it to a technician.
- Ignoring a door that won’t balance. A door that drifts 6 inches or more is telling you something is wrong. Waiting for it to fail usually means a bigger repair, and often a stranded car.
- Skipping the safety reverse test. It’s easy to forget because the door seems to work fine. A non-functioning reverse is a hidden hazard, and it’s a two-minute check.
- Greasing the tracks. Tracks should stay clean and dry. Grease attracts grit, and grit wears rollers and track edges faster. Wipe, don’t grease.
- Replacing a worn roller with the cheapest option. A cheap nylon roller can flat-spot quickly and start grinding the track. Matching the original quality, or upgrading to a sealed bearing roller, saves money later.
- Forgetting the weather seal after winter. It’s the first thing to check in spring and the easiest to overlook. A cracked seal lets in water that can rust the door’s bottom edge.
When to Call a Professional
Call a professional when a spring breaks, when a cable is frayed or slack, when the door won’t balance or feels heavy, when the opener won’t reverse on contact, when the door is off its track, or when any repair involves the bottom bracket or a torsion spring. Those aren’t close calls. They’re the situations where the risk of injury or further damage outweighs whatever you might save by handling it yourself. If a roller has seized and ground the track, or if a panel is bent enough to bind, those are also good times to have someone look, because the fix can be simpler with the right parts on hand.
Garage Door Repair Grove City offers free estimates in Grove City – call (855) 605-4061. We answer 24/7. Fast dispatch from 7am to 7pm, Sunday through Friday. Our technicians have up to 10 years of experience, and we work on your brand, whether that’s a LiftMaster, Chamberlain, Genie, Clopay, Amarr, Wayne Dalton, Craftsman, or Raynor. The price is quoted and agreed before any work starts, so you’ll know the number before anyone touches the door.
See the difference
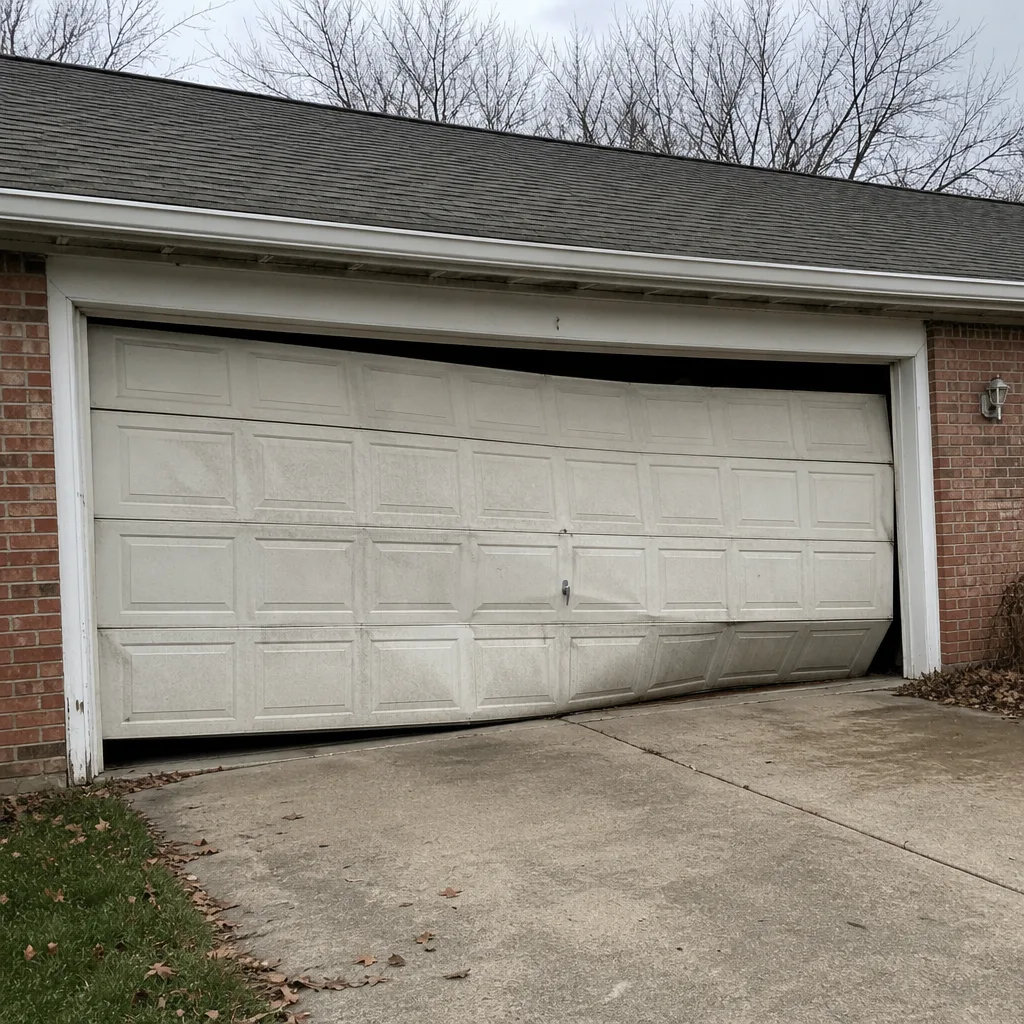 Before
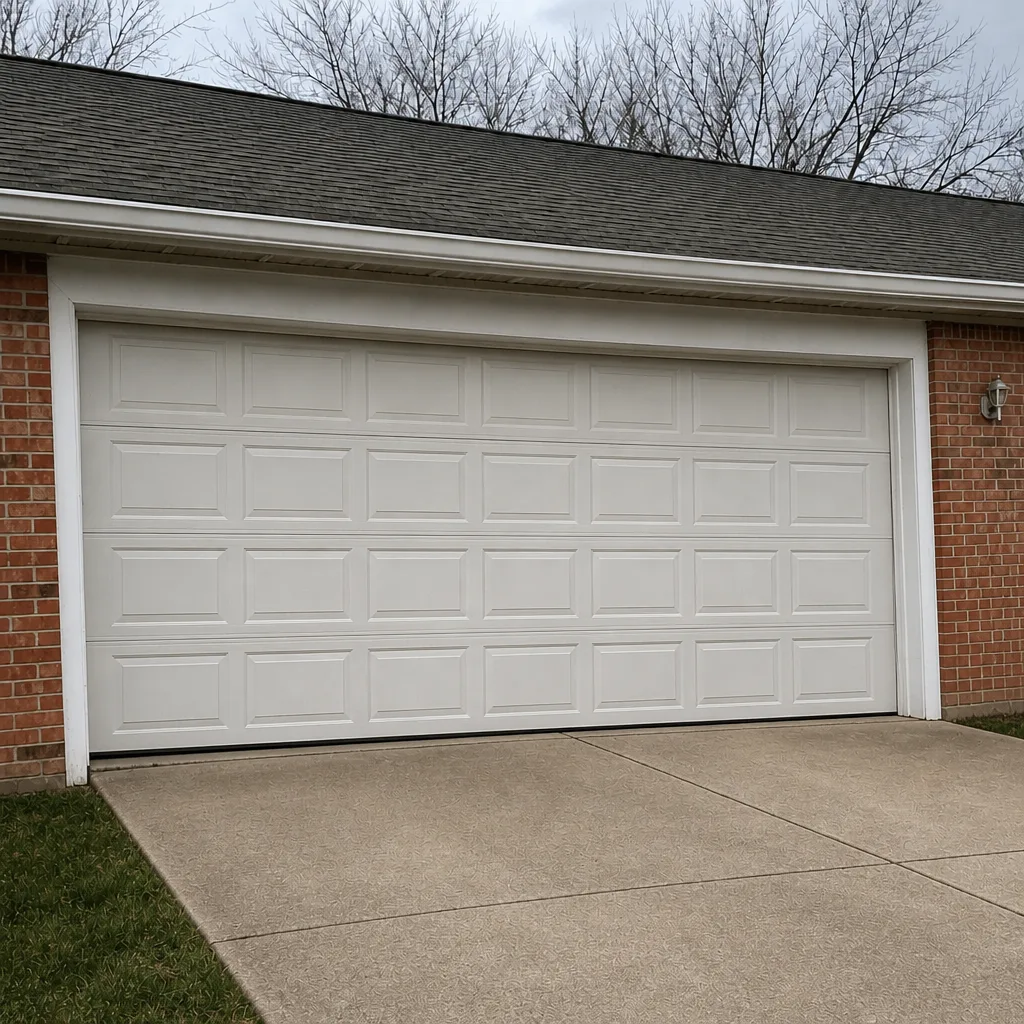 After
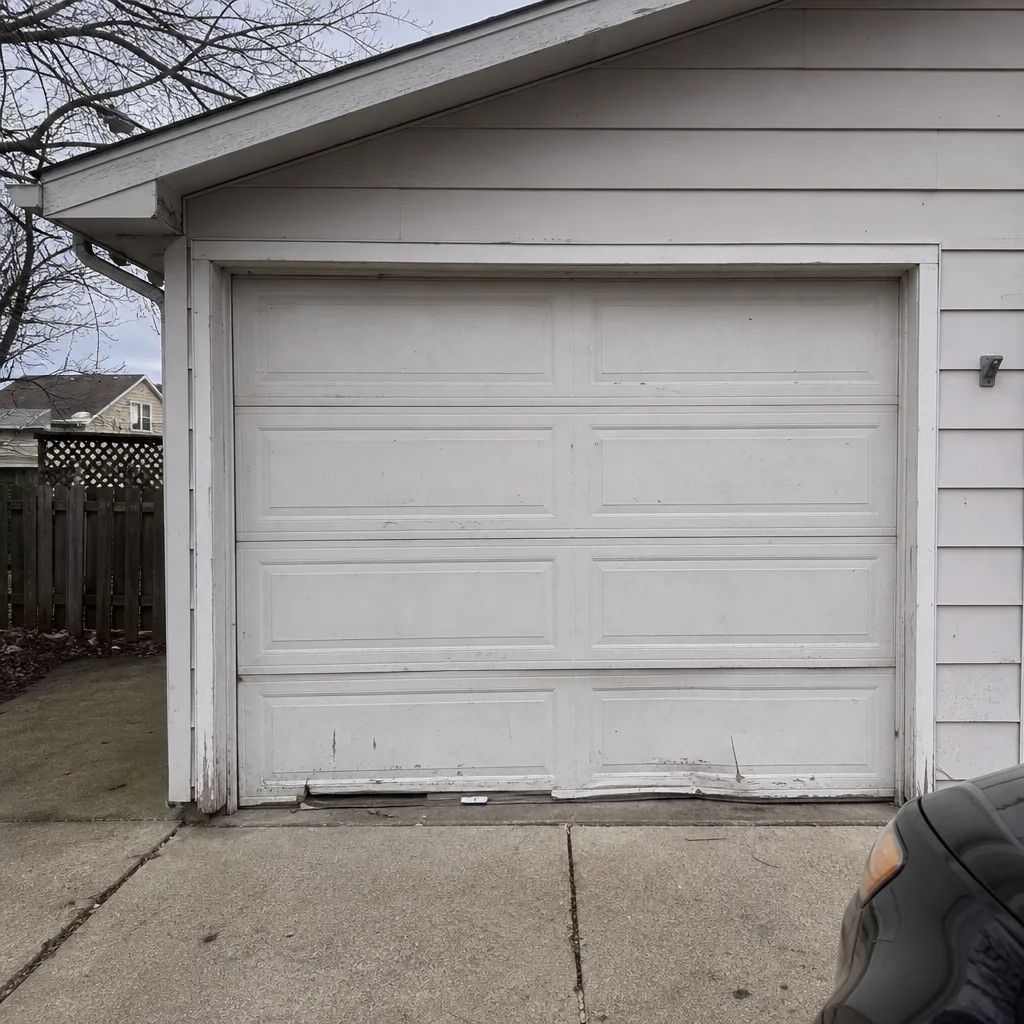 Before
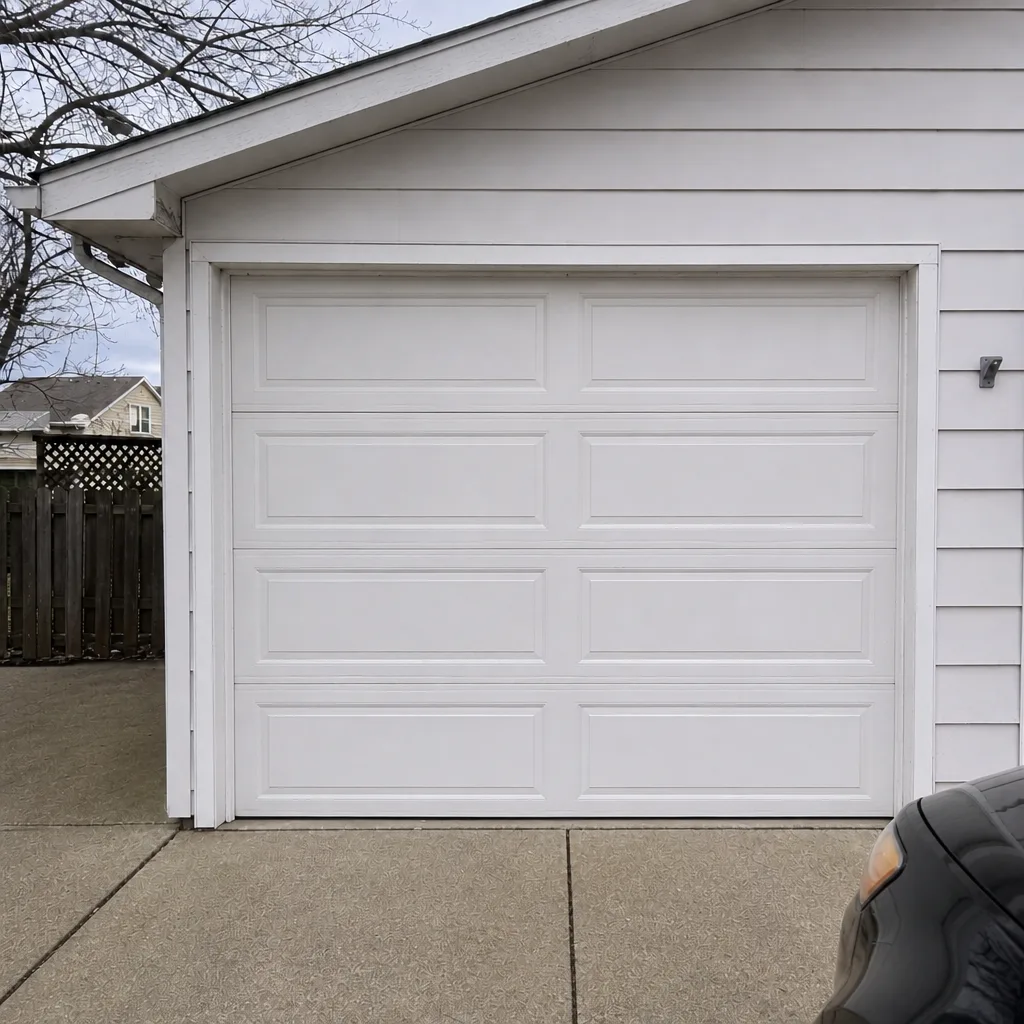 After
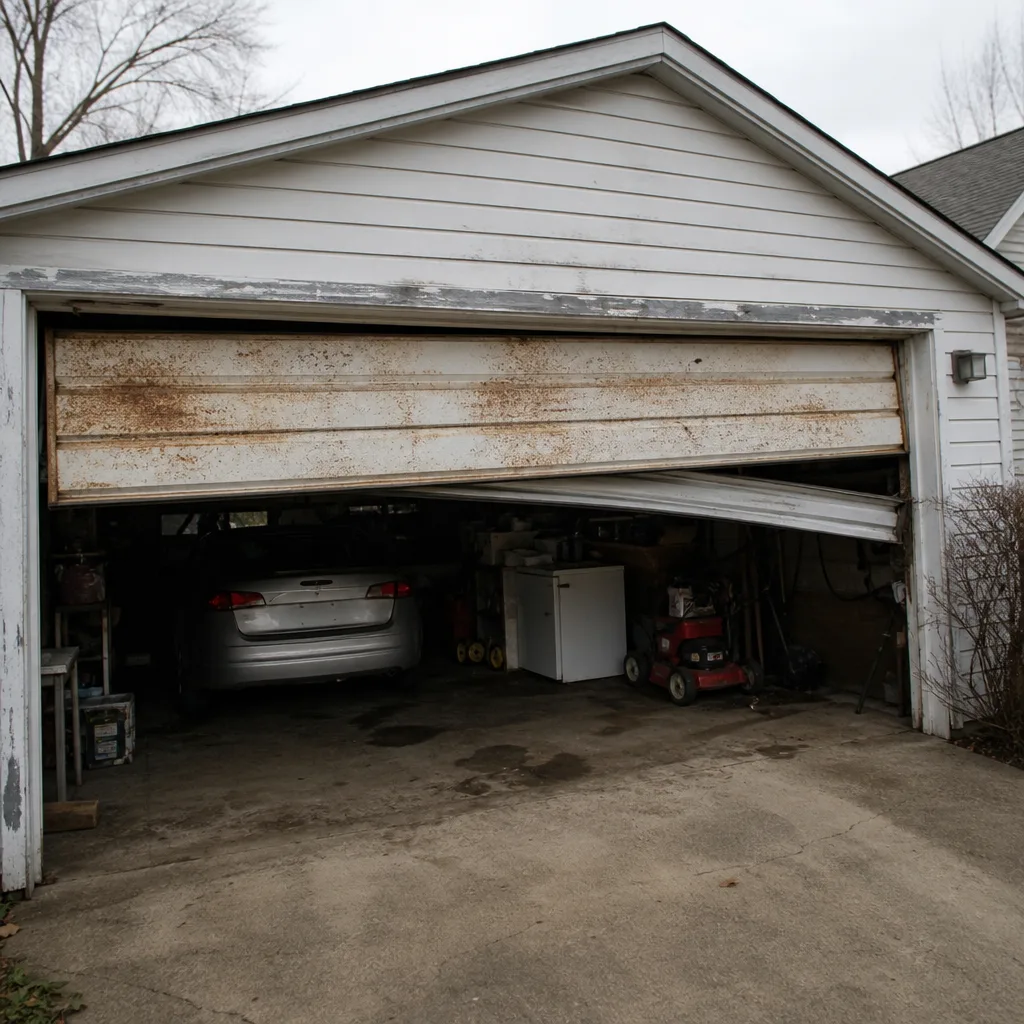 Before
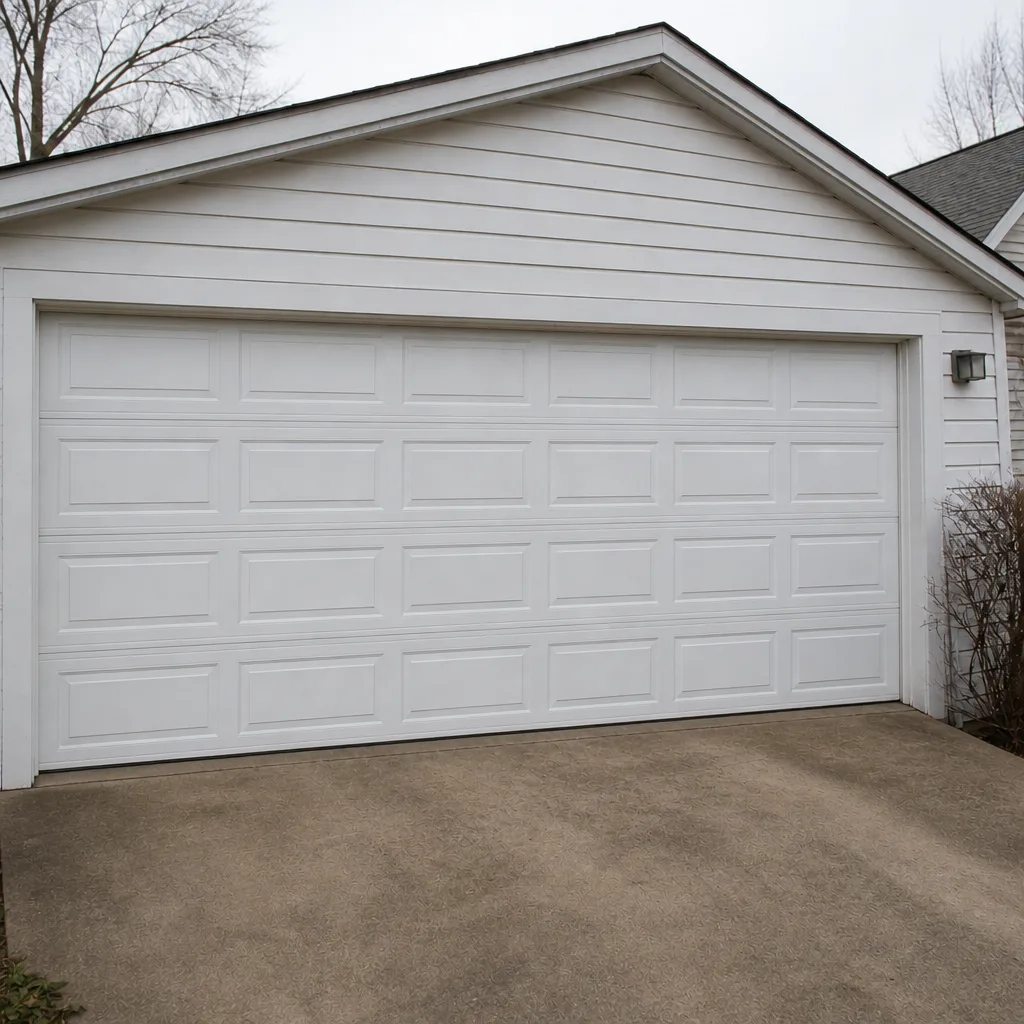 After
Frequently Asked Questions
Every six months is a good rule of thumb for springs, hinges, and roller stems, with a quick check in between if the door starts to squeak. In Grove City, late fall and early spring line up well with the seasonal extremes, so those are convenient times to lubricate and inspect at the same time. Use silicone spray or white lithium grease, not WD-40.
A 3-inch drift means the door has a small imbalance, usually from a spring that’s slowly losing tension. It’s not an emergency, but note it and recheck in a few weeks. A 6-inch drift or more means the door is clearly out of balance and should be checked by a technician before the opener takes on the extra load.
No. Garage door springs, both torsion and extension, are under extreme tension and can cause serious injury if they release unexpectedly. Spring replacement calls for specific tools and training, and it’s the one maintenance item we’d never suggest a homeowner tackle. Call us for spring work.
Check for cracking, flattening, and gaps at the bottom seal, and look for daylight under the door from inside the garage. Freeze-thaw cycles can lift the concrete slightly and open gaps that weren’t there in the fall. Replace a worn seal before the spring rains arrive.
A shudder usually points to worn or seized rollers, loose hinges, or a bent track section. It’s one of the clearer warning signs a roller is near end-of-life. Have it checked before the roller seizes completely and starts grinding the track, which turns a cheap roller replacement into a track repair.
Spring pricing depends on the door and the spring type, and it’s set per job by a written estimate before any work starts. A matched pair is usually replaced together, so a pair costs more than a single spring. Call (855) 605-4061 for an exact quote. Estimates are free.
The Bottom Line
A garage door maintenance checklist is only useful if it tells you what failure looks like, not just what to inspect. Check your springs and cables by eye from a safe distance, never touch them. Watch your rollers and hinges for shudder and grinding, because they warn you early. Run the balance test and the safety reverse test every few months, lubricate with silicone or white lithium grease, and remember that Grove City’s freeze-thaw winters and humid summers do their own kind of wear on the seal and the door’s bottom edge. Handle the safe checks yourself, and leave the tension-loaded parts to a technician. For anything past a visual inspection, our garage door spring repair and opener services are here when you need them.
If something on this checklist turns up a problem, or if you’d rather have a technician run through it with you, call (855) 605-4061 for a free estimate. We work on your brand, we focus on garage doors and openers, and we’ll quote the price before any work begins.
Written by the team at Garage Door Repair Grove City.